
5 Easy T-Shirt Yarn Projects to Make This Weekend
05 Sep 2026

A good weekend project does not need to be ambitious. It needs a clear beginning, a manageable middle, and a finish that makes ordinary life feel a little more considered.
T-shirt yarn is well suited to that kind of making. Its scale shows off simple stitches, and many small projects grow quickly enough to keep your attention. Actual making time will vary with the pattern, size, technique, and your pace, so think of “weekend project” as an invitation rather than a deadline.
Here are five approachable ideas, plus a simple way to choose the right one for the time and energy you have.
1. A Small Catchall Basket
A small basket is one of the most useful introductions to crocheting with T-shirt yarn. It can hold keys, craft tools, bathroom essentials, or the small objects that gather on a bedside table.
The construction is easy to understand: begin with a flat base, then work upward to create the sides. A simple stitch pattern lets the shape and color do most of the visual work.
For a first basket:
- Choose a modest diameter.
- Use stitch markers to identify the beginning of each round.
- Check that the base lies flat before building the sides.
- Keep your tension comfortable and consistent.
- Stop at the height that suits the basket’s purpose.
If the sides lean or ripple, do not panic. Compare your stitch count with the pattern, then gently reshape the work on a flat surface. Correcting a round early is easier than correcting the whole basket later.
2. A Set of Textured Coasters
Coasters are small enough for experimentation. Make one to learn the stitch, then repeat it until the movements feel familiar. A set can be unified in one color or built from related shades for a more playful table.
Because a coaster is functional, test the finished sample before making the full set. Check that it lies flat and feels stable beneath the type of cup or glass you expect to use. Follow the yarn’s care guidance, and remember that suitability around heat or moisture depends on the specific material and construction.
This project is especially good for practicing:
- Starting a round cleanly
- Counting increases
- Joining or finishing rounds
- Weaving in ends neatly
- Repeating a consistent size
3. A Simple Plant-Pot Cover
A handmade cover can soften the transition between a plant and the room around it. Choose a color that echoes the leaves, the wall, or another textile nearby.
Build the cover to fit around a separate plant pot or watertight container. The yarn cover itself should not replace a vessel designed to hold soil and water. Remove or protect the cover when watering, depending on the yarn’s care instructions and the design of the inner pot.
Measure the widest part of the pot, then make a base and sides that allow it to slide in without strain. A close fit looks neat, but a cover that is too tight may distort or be difficult to remove.
4. A Minimal Clutch or Project Pouch
A flat rectangle can become a useful pouch with a fold and two seams. This simple construction is a gentle introduction to making accessories because you can focus on the fabric before thinking about three-dimensional shaping.
Decide what the pouch will hold before you begin. That choice guides the width, height, closure, and lining. If you add a button, zipper, strap, or other hardware, attach it securely and check it regularly—especially if the item will carry valuables.
For a clean result, make a small swatch first. A stitch that feels firm enough for a basket may be too dense for a pouch; a more flexible fabric can fold and open more comfortably.
5. A Two-Handle Mini Tote
If you are ready for a slightly larger project, try a compact tote. Keep the body shape simple and let the handles become the main new skill.
Think carefully about use. A decorative tote and a bag intended to carry weight have different construction needs. Follow a pattern designed for the purpose, reinforce joins where instructed, and test the finished bag gradually before relying on it.
A mini tote gives you practice with:
- Maintaining consistent sides
- Placing handles evenly
- Creating matching openings
- Finishing edges
- Evaluating stretch after use
T-shirt yarn can have give, and the amount varies. A swatch or a small hanging test can help you anticipate how your fabric may change under light weight.
How to Pick the Right Weekend Project
Choose according to your available attention, not just the number of hours on the calendar.
If you want repetition and calm, choose coasters. If you want to learn shaping, choose a small basket. If you want an object tailored to your home, make a plant-pot cover. If you enjoy finishing details, try a pouch. If you want a clear next step after basic crochet, choose a mini tote.
Before you begin, gather everything in one place:
- Your selected T-shirt yarn
- A pattern suited to that yarn and project
- The recommended hook or needles
- Scissors and a suitable yarn needle
- Stitch markers and measuring tools
- Any closures, lining, or hardware named in the pattern
Read the entire pattern once before making the first stitch. It is a small ritual that gives the weekend a smoother shape.
A Simple Two-Day Rhythm
On day one, make a swatch, confirm the size, and complete the main body. On day two, finish the shape, weave in ends, add any carefully chosen details, and inspect the finished piece.
If your project needs longer, let it. Handmade work is not late. The purpose is to make warmth tangible, one useful stitch at a time.
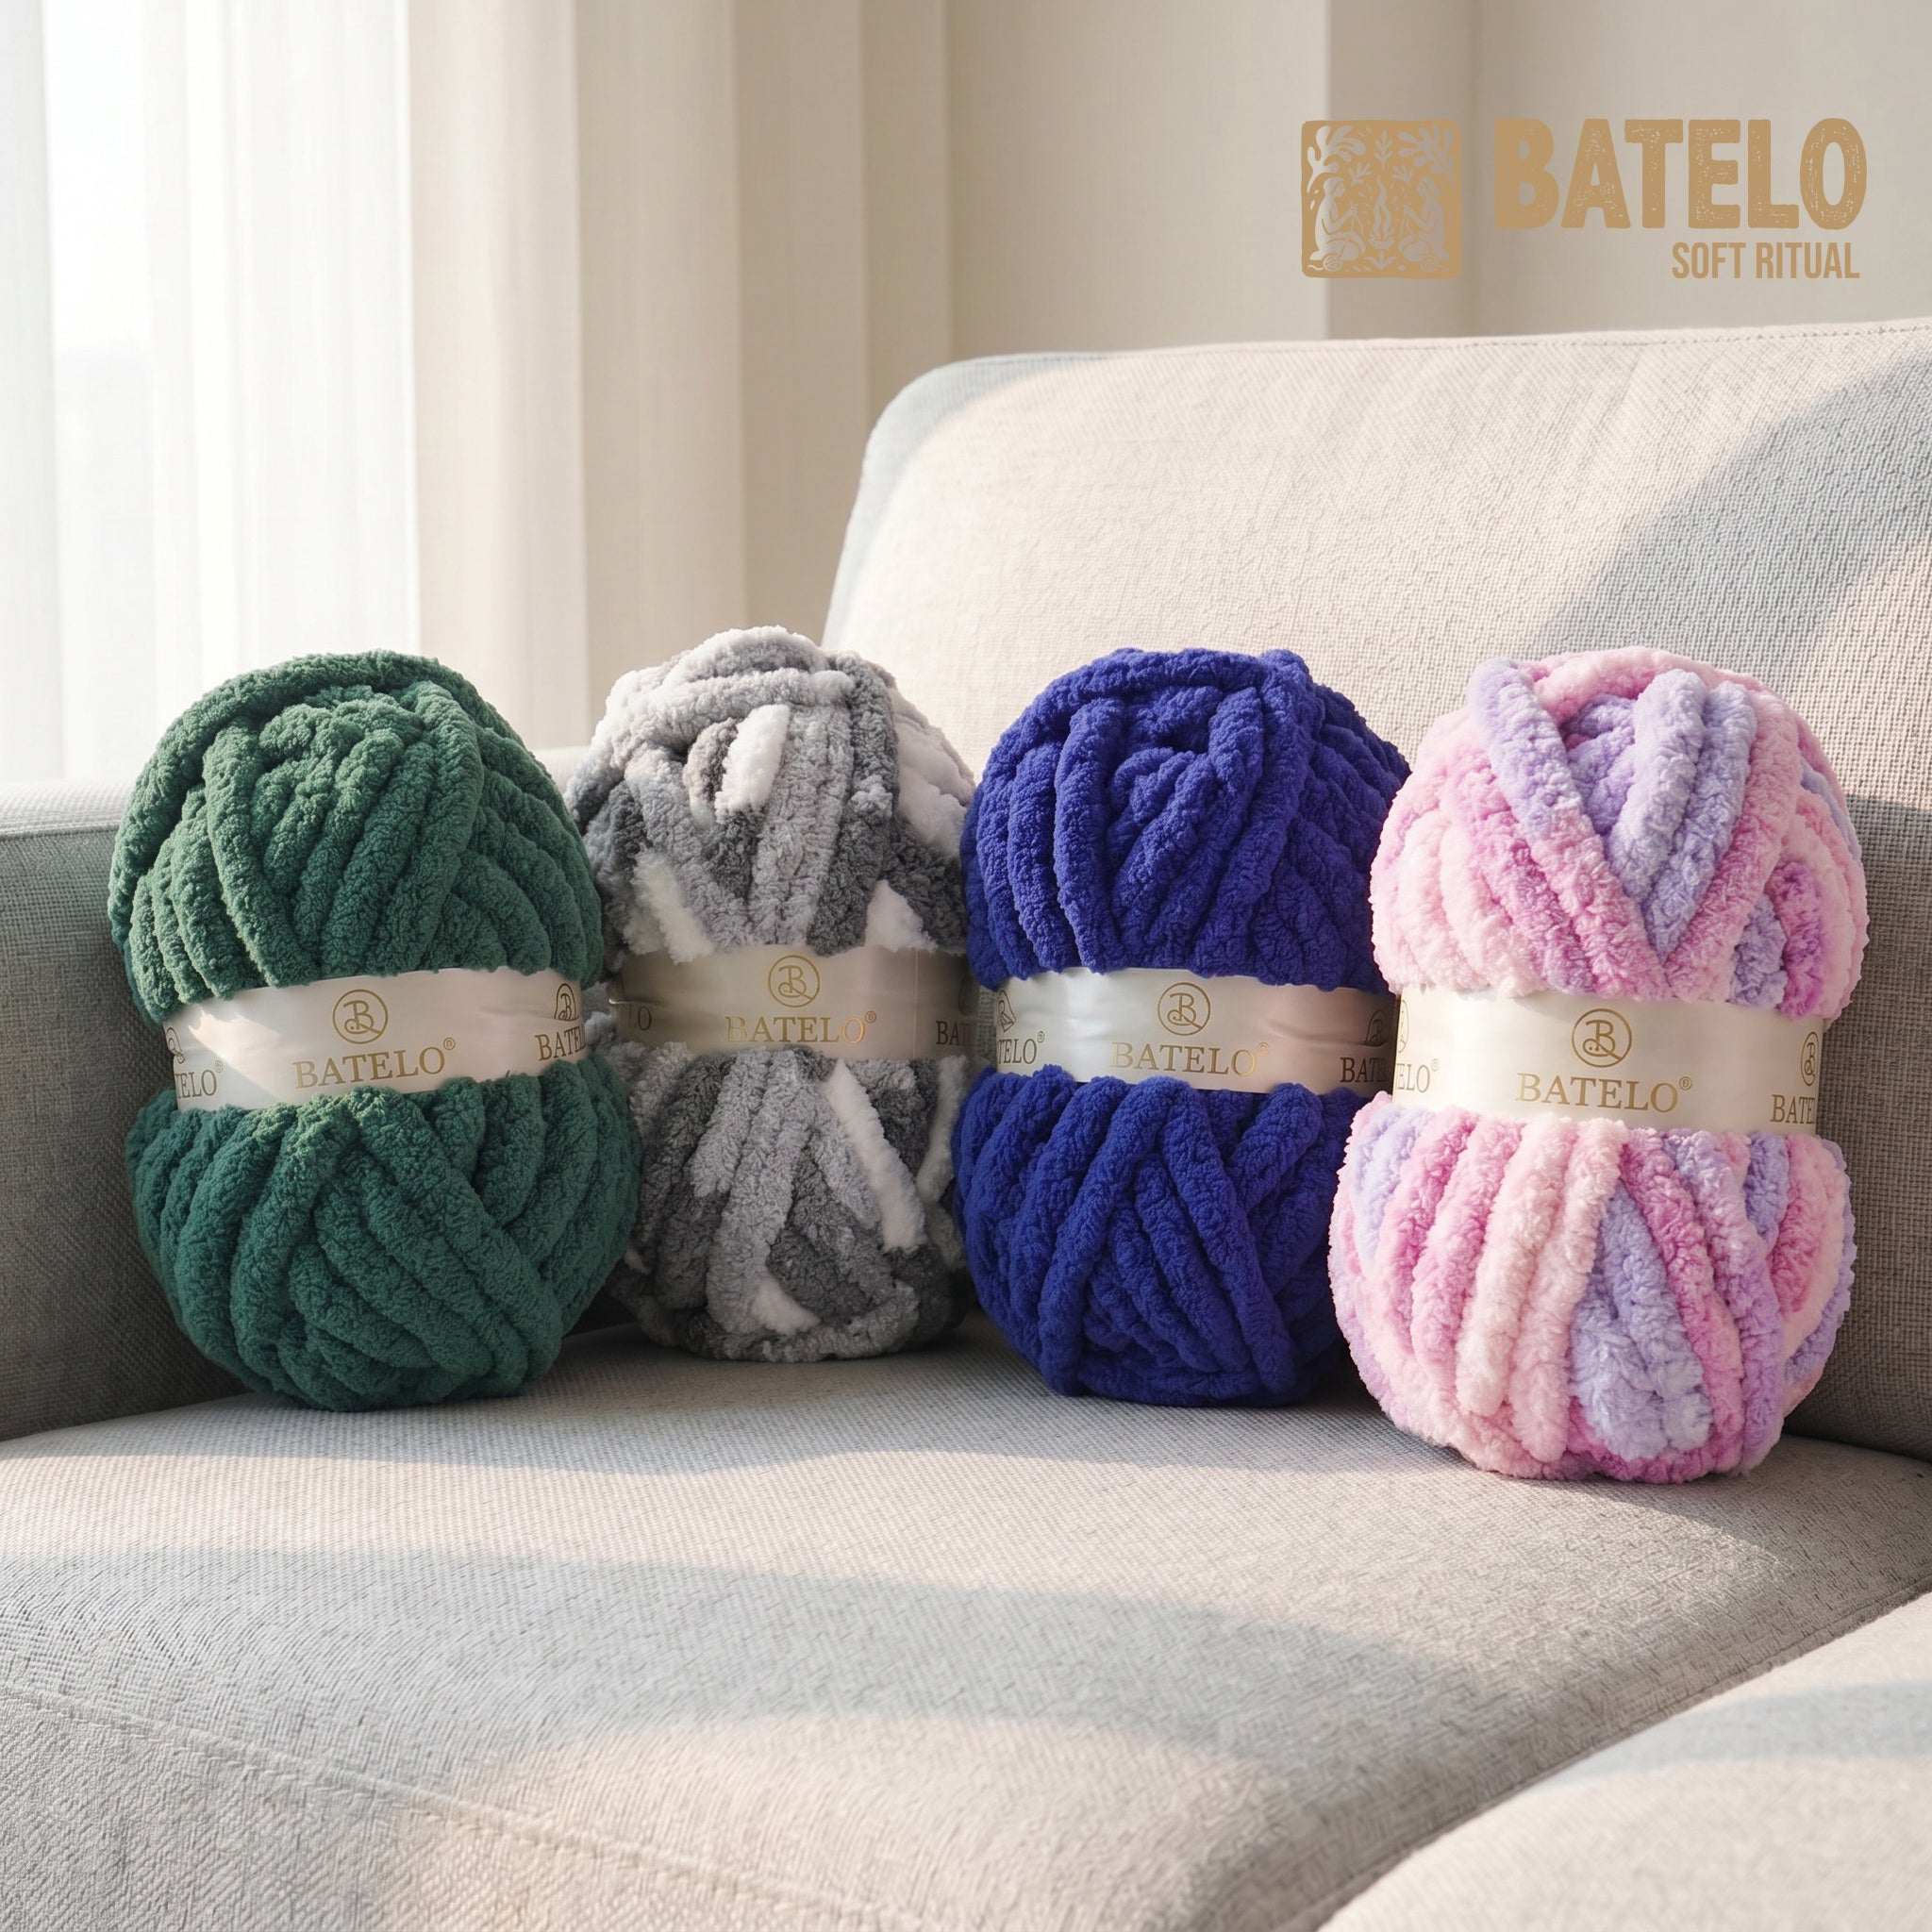
Begin Your Weekend Make With BATELO
Select a BATELO T-shirt yarn color for the room, table, or outfit you have in mind, then choose a BATELO pattern that matches your current skill level. One small finished object is enough to change how a familiar space feels.